
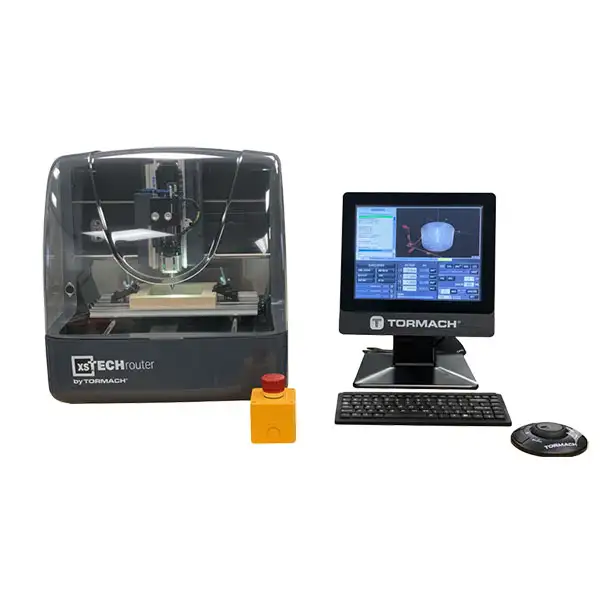
Today, we’re going to learn how to use the Tormach xsTECH Router.
Let’s go make something.
Step 1: Start With a Part
First, we need something to make.
Usually, we’ll design that part in Onshape. Maybe it’s a robot bracket, a plate, a spacer, or some other part that would be annoying to make by hand.
Once the design is finished, we export it and open it in Kiri:MOTO or Autodesk Fusion 360. For today, I’m going to use Kiri:MOTO.
This is where CAD becomes CAM.
CAD describes what the part looks like.
CAM figures out how the router is going to cut it.
Step 2: Tell Kiri About the Router
Before Kiri can create instructions, it needs to know what kind of machine we’re using.
We have a machine profile for our xsTECH that tells Kiri things like:
- How large the machine’s work area is
- How fast the spindle can turn
- What kind of G-code the machine understands
- What commands start and stop the spindle
- How we handle tool changes
Use the team’s existing xsTECH profile rather than creating a new machine from scratch.
** NEED TO ADD SETTINGS HERE**
Step 3: Choose How to Cut the Part
Now we create the toolpaths.
This is where we tell Kiri things like:
- What cutting tool we’re using
- What parts of the model we want to cut
- How deep to cut
- How fast to move
- How fast the spindle should turn
Kiri takes all of that information and generates G-code.
G-code is simply a list of instructions for the router.
Things like:
Move here.
Start the spindle.
Move down.
Cut over there.
Stop the spindle.
Thankfully, we usually don’t need to write any of that ourselves.
Step 4: Head to the Router
Now it’s time to make some chips.
Put on your safety glasses before operating the router.
Take your material and secure it firmly to the machine.
Clamps are great.
Clamps being hit by a spinning router bit are not.
Before continuing, make sure the material cannot move and that the cutting tool won’t collide with any clamps, screws, or fixtures.
Step 5: Install the Cutting Tool
Install the tool that you selected when you created the toolpath.
Make sure:
- You’re using the correct tool
- The tool isn’t damaged
- It’s securely tightened
- All wrenches are removed when you’re finished
Our xsTECH does not automatically change tools.
If a project uses more than one tool, you’ll need to stop and change the tool manually.
Step 6: Load the Program
Load the G-code into PathPilot, the software that controls the xsTECH.
Before running anything, look at the toolpath preview.
Does it look like the part you intended to make?
Does the cutter stay inside the material?
Is it going anywhere near a clamp?
If something looks wrong, stop here and figure out why.
The router will happily follow bad instructions.
Step 7: Tell the Router Where the Part Is
There’s one more problem.
Once you home all of the axis, the router knows where it is.
It does not know where you just put your piece of material.
We need to establish X = 0, Y = 0, and Z = 0.
Your CAM setup chose some point on the material as zero. Maybe that’s a corner of the stock and the top surface.
Now we have to tell the real router where that same point is.
This is called setting the work zero.
If the zero is wrong, the toolpath can be completely correct and the router will still cut in completely the wrong place.
So check it twice.
Step 8: Are We Ready?
Before pressing Cycle Start, ask yourself:
- Safety glasses on?
- Material secure?
- Correct tool installed?
- Tool tight?
- Wrenches removed?
- Correct G-code loaded?
- X, Y, and Z zero correct?
- Toolpath clear of clamps?
- Emergency Stop button located?
If everything looks good, we’re ready.
Step 9: Press the Button
Start the program and watch the machine.
Especially watch the first few movements.
The tool should move where you expected it to move.
It should approach the material where you expected it to approach.
And once it starts cutting, it should sound like a router cutting material — not like a machine desperately begging for help.
If anything looks or sounds wrong:
STOP THE MACHINE.
There is no prize for seeing whether something terrible is about to happen.
We would much rather ruin a piece of material than ruin the router—or you.
Never leave the machine unattended while it is cutting.
Step 10: We Made a Part!
When the program finishes, wait until the spindle has completely stopped.
Then:
- Remove the part.
- Clean up the chips and scraps. Use a vacuum!
- Put the tools away.
- Inspect what you made.
Congratulations.
You just took a computer model and turned it into a physical object.
That’s CNC machining.
Watch It Happen
The video below walks through setting up and using the xsTECH.
Don’t worry about memorizing everything the first time.
The basic process is:
Design → CAM → G-code → Clamp → Zero → Check → Cut
Do that a few times and the whole process starts feeling surprisingly normal.